

Happy monday everyone! Today's Mani Monday is yet another easy one using 2 colors of nail polish but with a new technique (If you follow me on Facebook and Instagram you might have seen the picture I posted). So if you were looking for an easy way to create a half moon nail mani, look no further and follow the instructions below. Remember you can use any combination of colors you want.
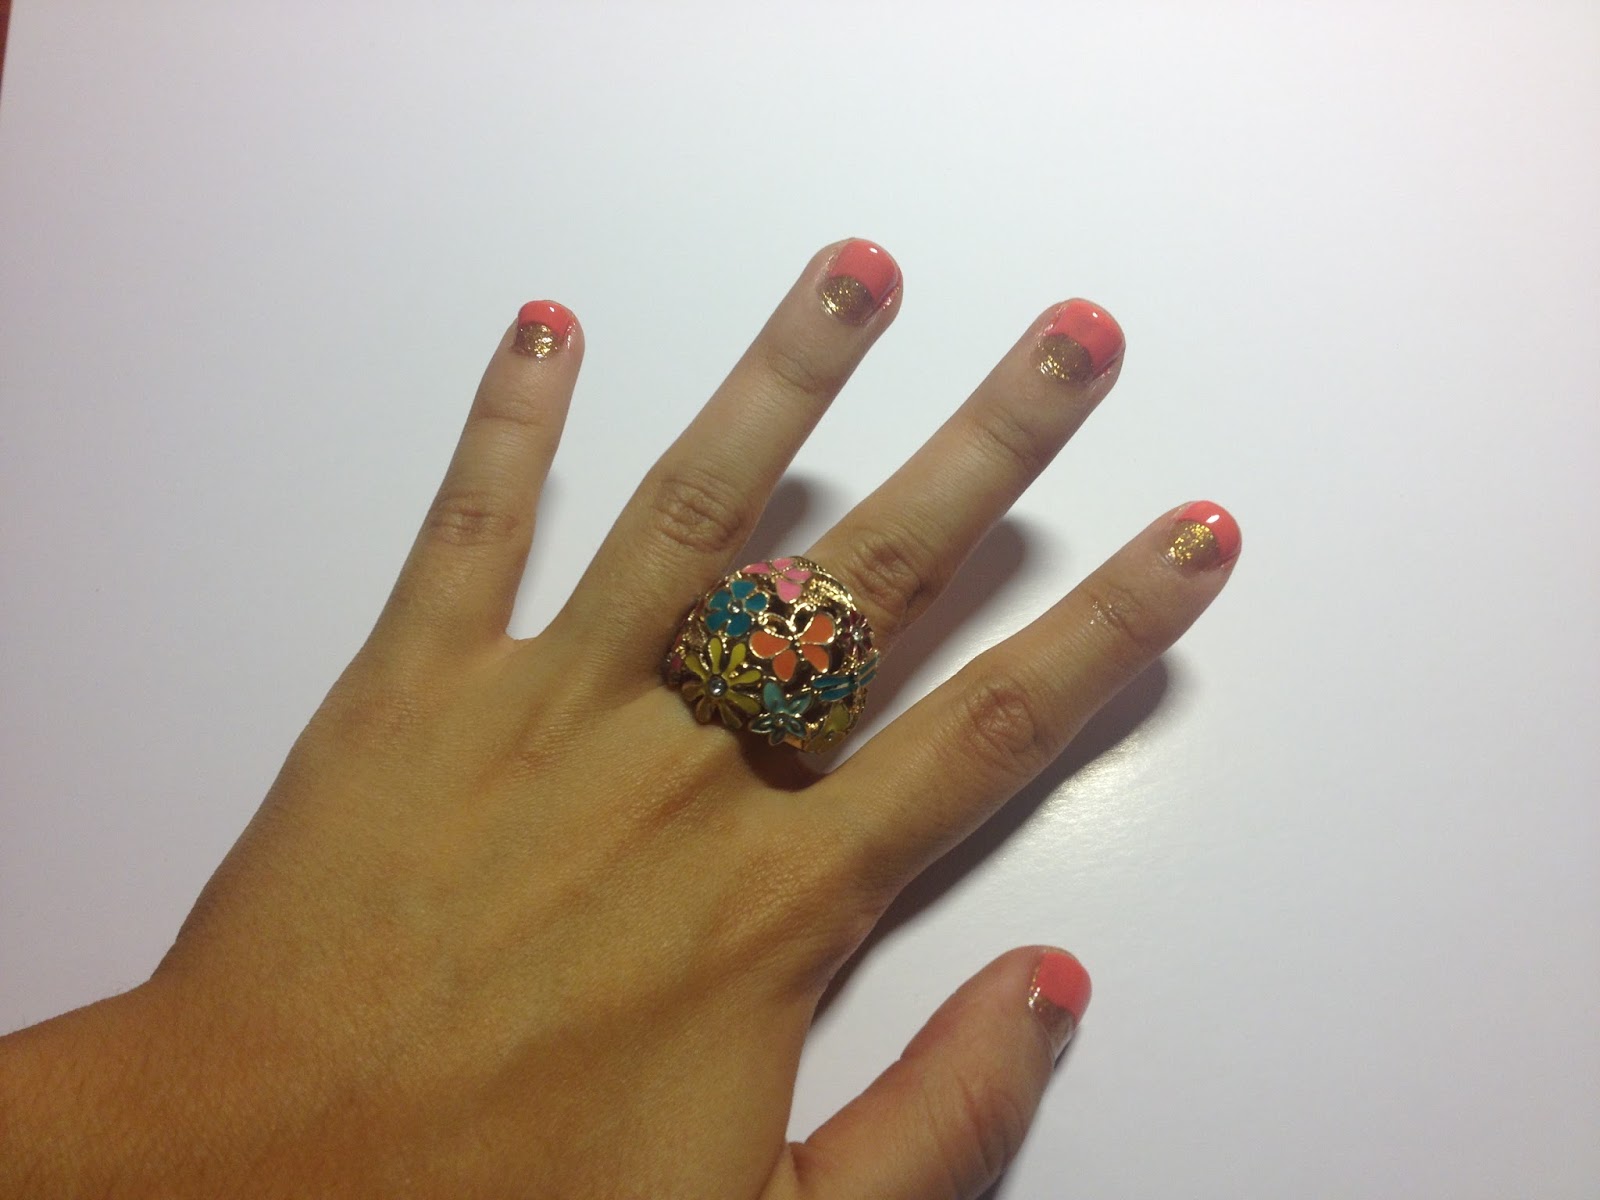
P.S. The ring I'm wearing is from Forever21
Feliz comienzo de la semana a todos :) El Mani Monday de ahora es nuevamente uno muy muy fácil en el que usé 2 colores de esmalte pero con una técnica nueva (Si me siguen por Facebook o Instagram probablemente vieron una foto). Asi que si estaban buscando una forma fácil de crear un manicure con una curva o media luna, no busquen más, solo sigan las instrucciones abajo. Recuerden que pueden recrear este estilo con los colores que deseen.
P.D. El anillo es de Forever21
Gold (Wet n Wild), Orange (L.A. Girls), Paper reinforcements.
Dorado (Wet n Wild), Naranja (L.A. Girls), Refuerzos para papel.

Start by applying a base coat, and once dry, apply as many coats of your base color as needed (my base was gold and since it's fine glitter, I think it took about 3 coats).
Comienza aplicando la base y una vez seca, aplica el primer color que será la media luna con cuantas capas seas necesarias (yo usé el dorado y como era glitter fino, me tomó como 3 capas)

When your base color is dry, use the paper reinforcements to create the half moon shape on the base of the nail.
Cuando el color base se ha secado, coloca los refuerzos adhesivos en la base de la uña para crear la forma de media luna.

Apply 2 coats of your second color form the top of the sticker to the tip of the nail. Remove them once you paint the last nail.
Applica 2 capas del segundo color desde la sticker hasta la punta de la uña. Remuévelas una vez hayas pintado la última uña.

The final step is to apply the top coat to smooth out the design and clean the edges in case you have polish on your fingers.
El ultimo paso es aplicar el brillo para sellar el diseño. También recuerda limpiar las orillas en caso que tengas esmalte en la piel.
Hey Hey,
ReplyDeletewonderful post! Very helpful! Where is it possible to buy such paper reinforcements? I live in Germany. Any ideas about online purchase? I would be thankful :)
Best regards,
Valy
http://communitybeaute.blogspot.de/
Hi! Thanks :) You can find the paper reinforcements in stores where they sell paper goods, school or office supplies. Online you can find them on Amazon.
DeleteHope this helps!